


As many of you know my health has been a real pain in the arse over the last 2 years and it has resulted in the lack of creative action here on my blog.
I've just about managed to keep up with my DT efforts for the Opus Gluei challenge but I haven't kept up with even that lately.
So I am taking a break for a bit.
I have had lots of changes in meds to try and improve my health without much success but maybe in a few months I may be doing better and be able to get back into crafting and blogging.
I have loved interacting with you all creatively and have loved blogging and making up silly stories and funny stuff so I don't want this part of my life to end.
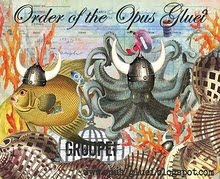
This is a card I made for an OG challenge but didn't blog here.
Click on it to make it bigger.

It uses Penny Black butterflies from a clear set that came out last year.
The good news is whilst I can't manage crafting, I can sit in my comfy chair and pin like a demon on my ipad.
I love Pinterest, it's been a real life saver!
You can find me as Gini Owen on Pinterest
Why yes, I do love the Birdies and Red Squirrels.
I have put some of my creations on there to.
If you are also a pinner please let me know and I can visit your boards and share the pin love with you, blink blink.
As Arnie said "I'll be back"
Only I don't have his muscles or his austrian accent or any man parts although I probably have more hair on my chest...
Just joking, now c'mon, I'm a proper lady, I only have hairs on my chinny chin chin - mwah!
I wish you all a very creative and happy spring!
Gini
xx